


Apple Maps listings are a popular way people find your location and verify your business details. This help article will you claim or create your Apple Maps listing.
Why Should My Business Be On Apple Maps
I am sure you have heard our Siri, Apple's virtual assistant. Every time someone asks for directions or information about a business on an Apple device, Apple scans the Apple Maps listing for the information. Apple has also partnered with Yelp to build a large list of businesses. Claiming and managing your Apple Maps business listing not only ensures that your customers are getting the correct information each time, but it also helps boost your SEO.Apples announced that as of January 2018 they have 1.3 BILLION active devices. Each one of those devices come preinstalled with Apple Maps as the default maps and navigation app. If you haven't claimed or created your apple maps listings, you could be missing out on countless customers.
1. Visit the Apple Maps Connect Website
Apple Maps business listings are managed on the Apple Maps Connect website https://mapsconnect.apple.com/. Once you get to their website, if you have an Apple ID, go ahead and log in. If you do not have an Apple ID, don't worry, you can just click "[create one](https://mapsconnect.apple.com/getappleid)".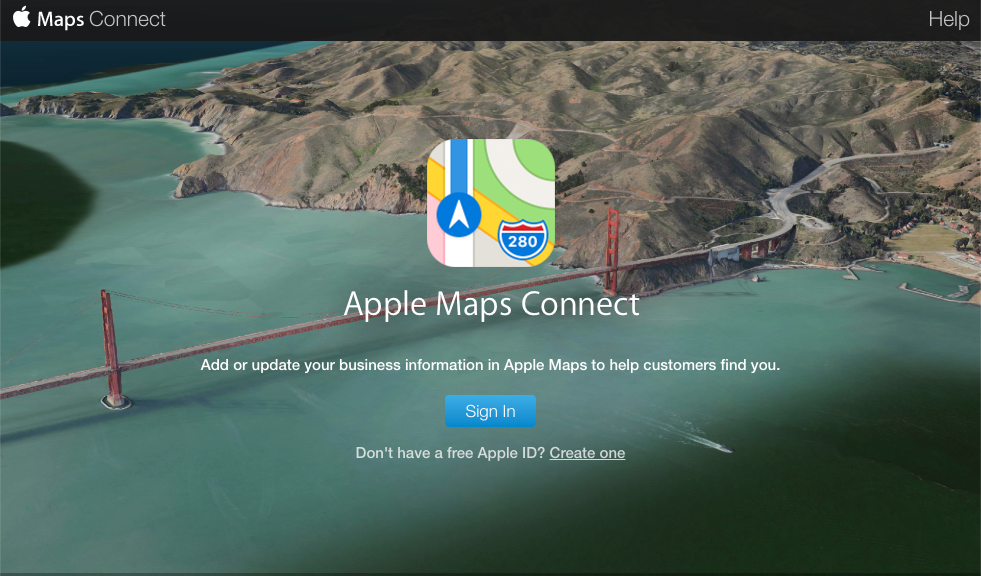
2. Select Your Prefered Language
The next step is pretty easy! You will select your preferred language. You will also have the option to receive Apple Maps Connect News and Notifications via email.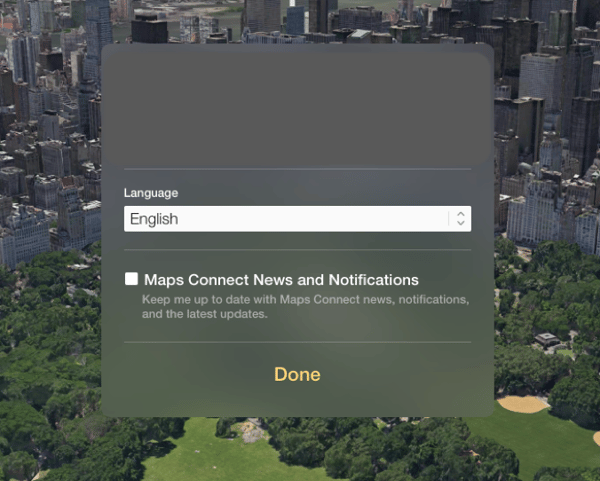
3. Accept Terms of Use
You will be prompted to read and accept the Terms of Use.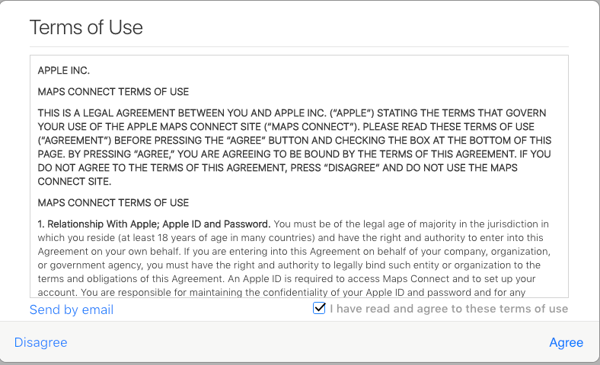
4. Find and Claim/Create Your Business
This is the exciting part. Now it's time to find your business. You will now search for your business by name and location. Multiple listings may appear. If you find your locations, click on the listing and use the blue "Claim this place" button. If you do not see your business listed, you will select the "Add New Place" option at the bottom of the results. You will then enter your business details. Make sure all of the information is entered accurately because this information is used for your listing.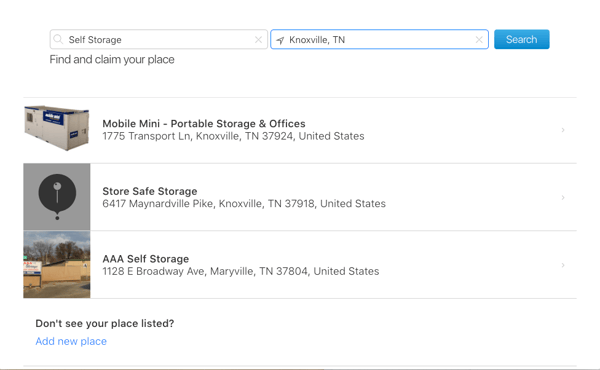
5. Verify Your Businesses Ownership
You're at the final step! Apple now wants to verify that you are the true owner of this business listing. You will be asked to verify by receiving a call from Apple at the business phone number listed. You can select "Call Me Now" or "Verify Later". Once you accept the call, Apple will prompt you through the completion.
Congrats! You have claimed your Apple Maps Business Listing. Check out our other helpful articles to ensure your self storage business is reaching its maximum potential.
